This is something that should be done more than once a year, but at minimum it should be done at least annually. That is the electrical inspection of your motorcycle. This is to ensure that everything is functioning the way it should as far as lights, kick stand switch, kill switch and more. Please make sure to check these things at least once a year:
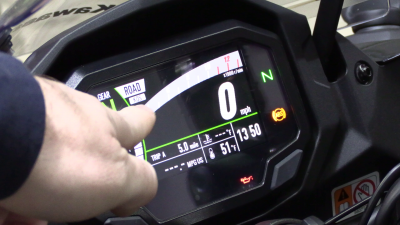
Proper dash lights illuminate when ignition on, but motorcycle isn’t running.
Day lights (if equipped) – ensure they come on when the motorcycle ignition is on but motorcycle is not running.
Headlight low beam
Headlight high beam
Left turn signal front
Left turn signal rear
Right turn signal front
Right turn signal rear
Taillight
Brake light when applying front brake
Brake light when applying rear brake
When in neutral and kick stand down – bike starts
When in neutral and kick stand up – bike starts
When in gear and kick stand down – bike doesn’t start
When in gear and kick stand up – clutch released – bike doesn’t start
When in gear and kick stand up – clutch engaged – bike starts
When in gear and kick stand goes down – bike stops
When in neutral and kick stand goes down – bike continues running
Kill switch turns off motorcycle
I did a brief run down in this video for my 1000sx
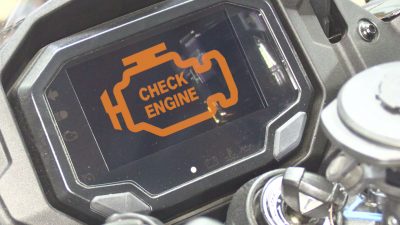
All of us hate to see the gut wrenching, heart stopping SES light on our dash. Millions of things jump right through our head, but in the end the ultimate question is, “What could be wrong?”
Sometimes we create the error when working on the motorcycle. Maybe we forget to hook something up. Or maybe while working on it we somehow crimped a wire. Other times it could just be normal wear and tear on the motorcycle. In the end we don’t know what is wrong.
Well don’t fret too much. You probably do not need to buy an expensive reader or have a shop charge an arm and a leg to hook up their reader to it to see what the error is. You more than likely can hook up to your motorcycle directly and read the code.
But how? There is no ODB2 connection!
True, but there are adapters! A lot of modern bikes use the red euro style connectors, others use proprietary connectors but you can probably find them with a simple Google or Amazon search.
On my YouTube channel I go over how to hook up and read codes on my 2021 Ninja 1000SX – and it is similar across other models such as Honda, Yamaha and Suzuki.
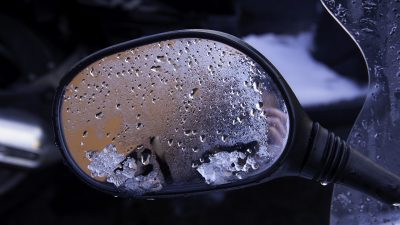
It’s that time of year… The time when a lot of riders put away their babies for the cold, icy and snowy months. There could be many reasons for this. Perhaps you just don’t like riding in the cold. Hey, 50 MPH in 30 degrees has a wind chill of 12 degrees Fahrenheit. Burrrrr. I’m cold just thinking about it. That being said, there is a ton of gear out there to keep you warm including heated gear, but it just isn’t for everyone – not to mention the expense for the gear.
Then you have those who don’t want to risk the ice. I’ve hit my fair share of black ice. It will scare the living crap out of you I will tell you. It will completely catch you off guard. Then of course there is the snow and ice that comes with winter in general – not fun to ride in. Some do, some have the tires for it, but it isn’t for the faint of heart. Along with it of course comes the salt, which will make you cry to just think about it on your baby. Or worse, that pre-treatment stuff that eats everything it touches. Here in PA, they use cinders too. I could go on a whole rant about what a waste cinders are – they chip everything up, they really don’t give you any more traction than a good salted road, and when the snow is gone, they are everywhere and you are dodging them like crazy – just a lot more random gravel patches to watch out for.
You may live an in area that just gets way too much snow to even try riding – you need four wheel drive, not one wheel drive and just two wheels on the ground. I hear you, and I do not look down on any rider who decides to winterize their bike and hang up their helmet until the beautiful Spring weather hits. Heck, I stop riding around October around here because of deer! Yes, you heard me, I stop riding even though there are seventy degree days if there is any chance I would get stuck in the evening hours. Any time after evening is bad too. Let me tell you, the deer are crazy. I’ve hit sixteen deer! Not with the bike, thank goodness, but that is not a good track record, and in the country – they are in abundance. I will get out for a few afternoon rides, just be back by five.
In any case, when you decide to pack your bike away for the winter, there are several things you need to do in order to ensure it’s wellbeing and that she will be happy to see you in the Spring and run perfectly for you.
Wash your Motorcycle
Number 1: Clean your bike! Yes, clean it. You may be one of those who cleans her every day before you ride, or you may be one where your bike has never seen the gentle soothing soap bubbles that leave her gleaming in her glory. No matter which one you are, give your bike a bath. Get all the bugs, tar, paint and any other road grime off that has accumulated. If you don’t want to give her a full bath, at least clean the chain and lube it. That chain goes through a lot, and you need to take care of it.
Fuel Stabilizer
Number 2: Put fuel stabilizer in the tank, fill her up and run it for five minutes. This is very important, especially if you cannot find gas without ethanol. Gas gums up, pulls in moisture and can break down into some very nasty stuff in a couple months. There are a bunch of fuel stabilizers out there. I used to use Sta-Bil. It did the job, until my Camaro. It would run like absolute garbage in the Spring. Popping, surging, you name it. Now my Camaro is built, it needs the best fuel it can get, and even with Sta-Bil, it was not happy. That’s when I started using Seafoam and it has never been happier. Not only does Seafoam put Sta-Bil to shame in terms of longevity (ahem – 2 years) – it cleans your fuel system too! It helps with the moisture and ensuring the gas is ready to go in the Spring so you have a very happy lady. It comes in 16oz bottles which is more than enough for your motorcycle. 1oz per gallon as a stabilizer. Did I mention it cleans your fuel system? That’s right! Your injectors, carbs, pump, filter and all will be so happy you added that come Spring. If you don’t want to use Seafoam, that’s fine, but make sure to get a quality stabilizer. Do not skimp on this! If you do, you will eventually have a very angry lady and a very expensive bill.
Battery Tender
Number 3: Battery tender! That’s right, you need to get a battery tender on your bike. Some people just unhook the battery, pull it and put it on a shelf. Lead acid doesn’t do well with just sitting. If you have a lithium battery, DO NOT let it freeze. Those of you with normal led acid, agm, etc – just hook up a battery tender – just make sure it is made for your battery. A lot of them support all types of batteries now, just make sure to set it right so you don’t overcharge an AGM, etc. I use a CTEK 40-206 and it works great – plus it will recondition your battery. You can hook a connection right up to the battery and run it to a convenient spot. My Ninja 1000SX I have run up under my rear seat. Plug it in and forget it – well, until you go to take the bike out, you don’t want to start riding off still hooked up!
Number 4: Paddock Stands/Motorcycle Lift. This really depends on your bike. Sport and sport touring bikes will want to be on paddock stands. Cruisers, tourers, etc may have center stands, but may also require a different kind of stand. Do your research, pick what works for your bike, and get those tires off the ground. This avoids flat spots in the Spring. Good quality tires will eventually have those flat spots smoothed out, but with the sticky compound used on sport bikes and such – you don’t want them sitting in one spot too long. If you don’t want to have it on stands, make sure to move it around into different positions every couple weeks.
Motorcycle Cover
Number 5: Cover her up. Get yourself a cover, a sheet, anything. Keep the dust and other bugs off of it and avoid any scratches while you are searching for your long lost 10mm socket one day. If you have kids, a cover is a must, at least with my kids lol.
One of the most important things you can do for your motorcycle is maintenance. Part of the maintenance cycle is an oil change. In order for internal combustion engines to operation, there must be oil. This allows the friction areas of the engine to run without binding up, overheating and causing catastrophic damage to the motor itself.
Over time, oil breaks down and accumulates moisture. This is why it is imperative to change oil at regular intervals, both mileage and time. Modern synthetic oils can last longer, but motorcycle engines are delicate, especially on sport bikes where they are performance engines, which is why it is still best to change the oil at 3000 miles or annually, even when running premium synthetic motor oils.
Oil changes are one of the easiest maintenance tasks to perform as long as you follow the proper procedure.
Remove drain bolt and drain oil
Remove oil filter
Lube new oil filter (the gasket and threads with clean new oil)
Install new oil filter
Replace drain bolt (possibly with new washer)
Add new oil
Check level (it should be over full at this point)
Run bike to warm it up and have oil fill the filter and other parts of the motor
Turn off bike and wait before checking oil level again – it should be correct now
Any person is capable of an oil change if they have the right tools. The tools are affordable and there is nothing too costly – the oil will cost the most.
Oil (proper weight and quantity)
Oil Filter
Crush washer (if applicable)
Filter Wrench
Socket Wrench for drain plug (do NOT use a crescent wrench)
Drain pan
Funnel (optional, but highly recommended)
Torque wrench (optional, but highly recommended)
Bike stands or lift (optional, but highly recommended)
Performing the Oil Change
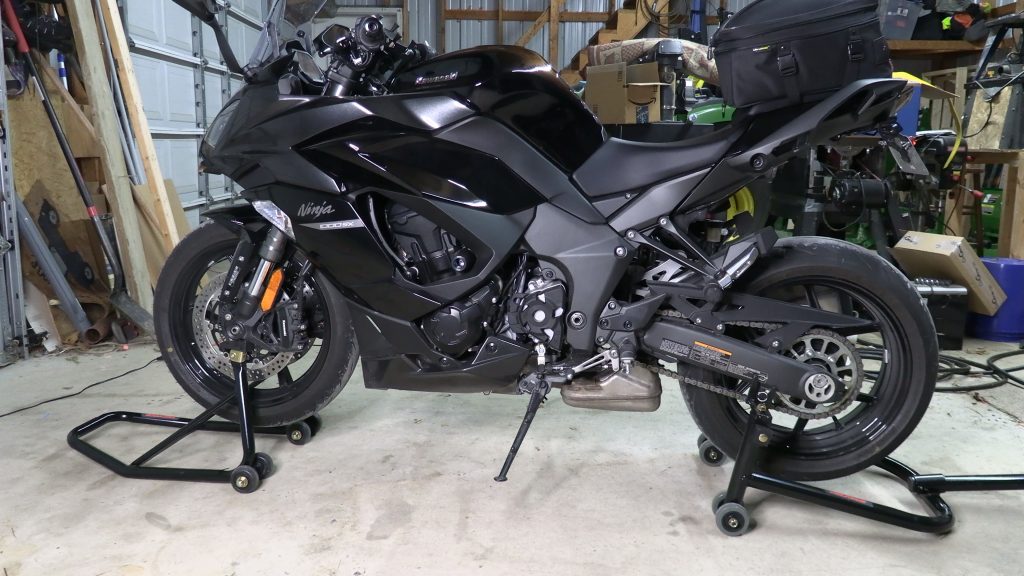
Bike on Stands
Don’t mind the messy garage :-).
It is preferable to get the bike in the air. Bike stands for sport bikes or a bike lift for cruisers, etc is recommended. This allows you to easily get the bike off the ground and a drain pan under it.
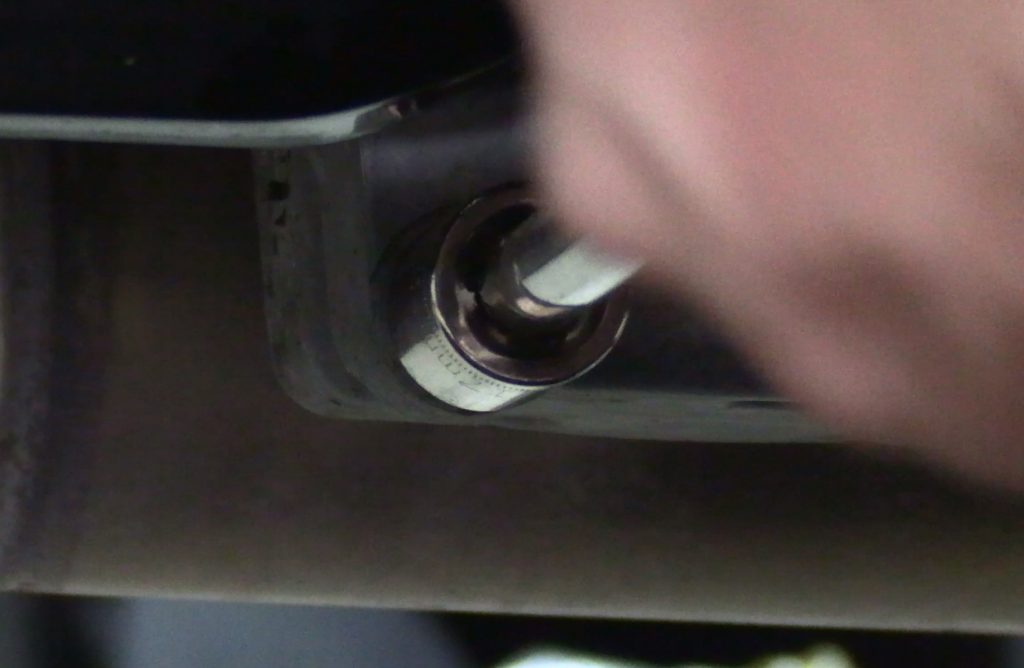
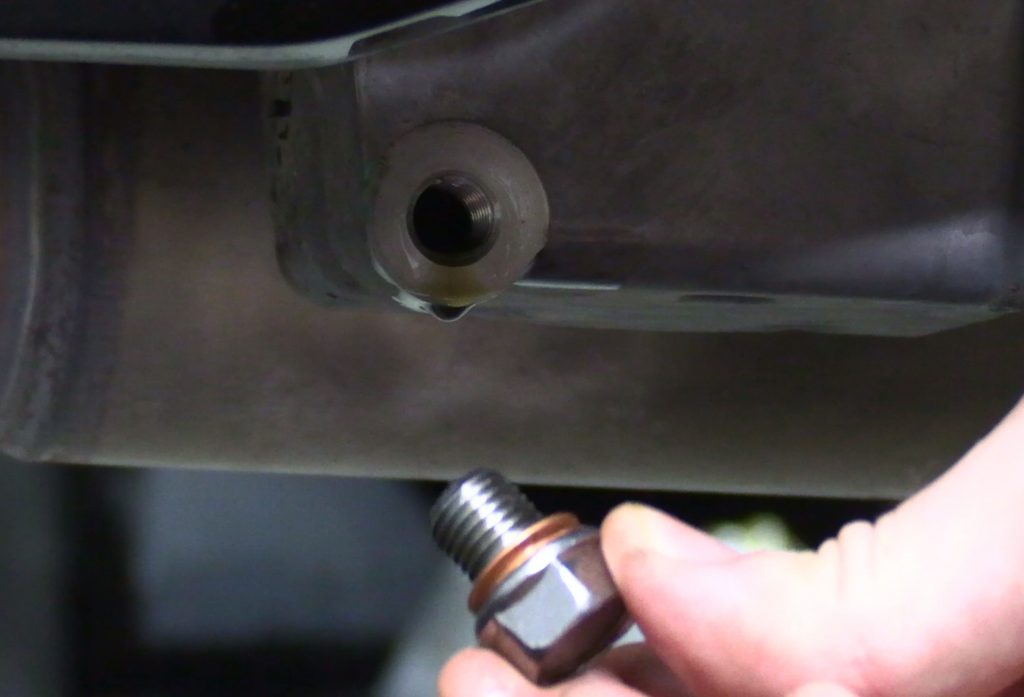
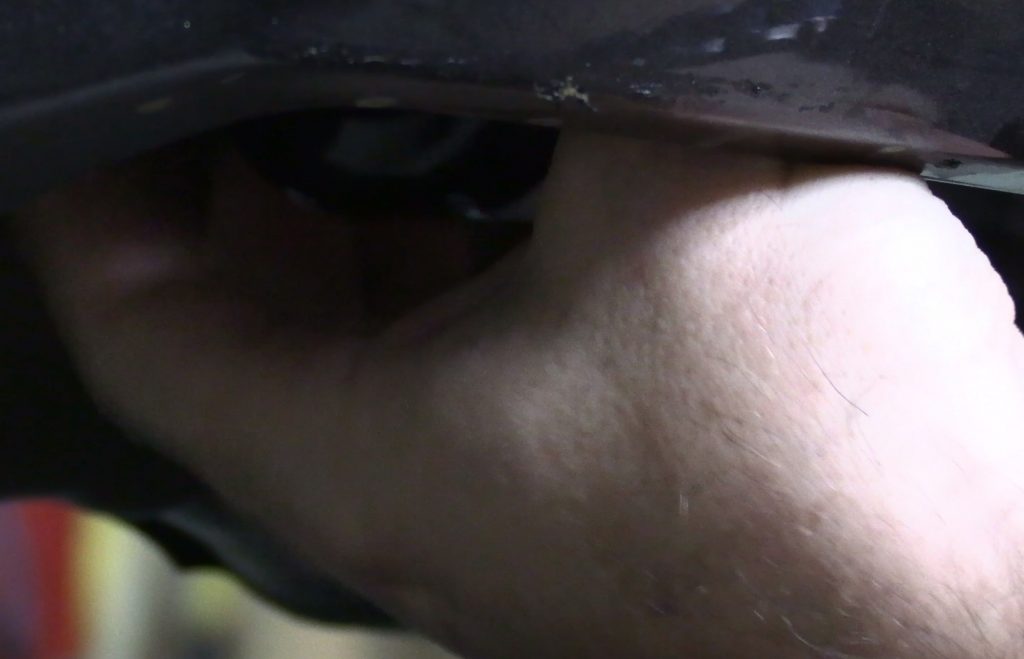
Remove Drain Plug
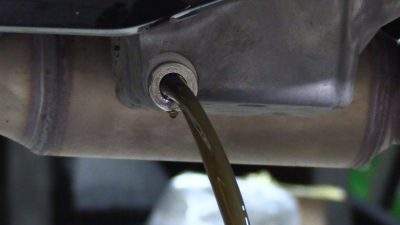
Place the oil pan under the oil pan/drain plug on the bike, find the right size socket and remove the drain plug. Make sure to get the existing crush washer or gasket if there is one.
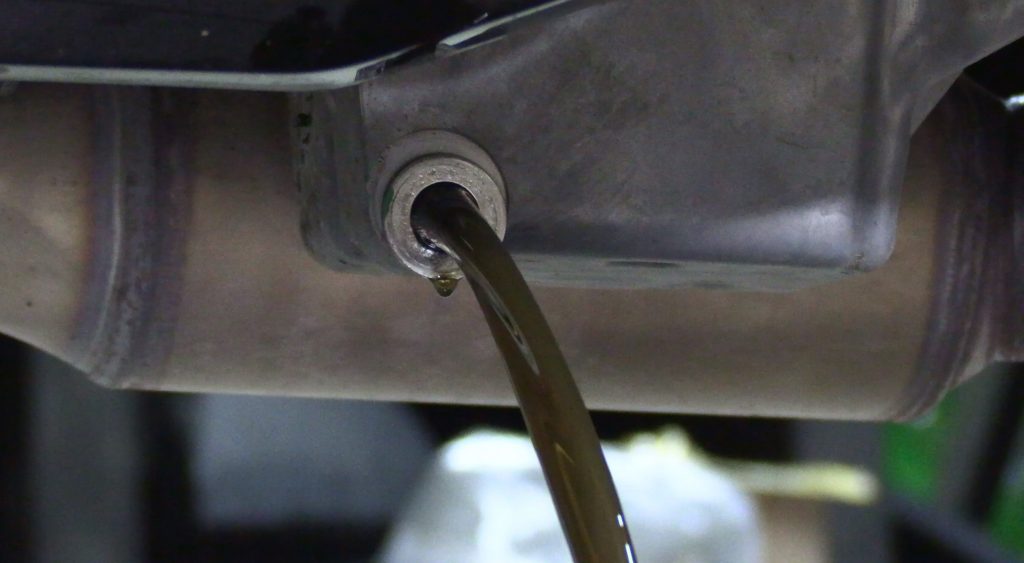
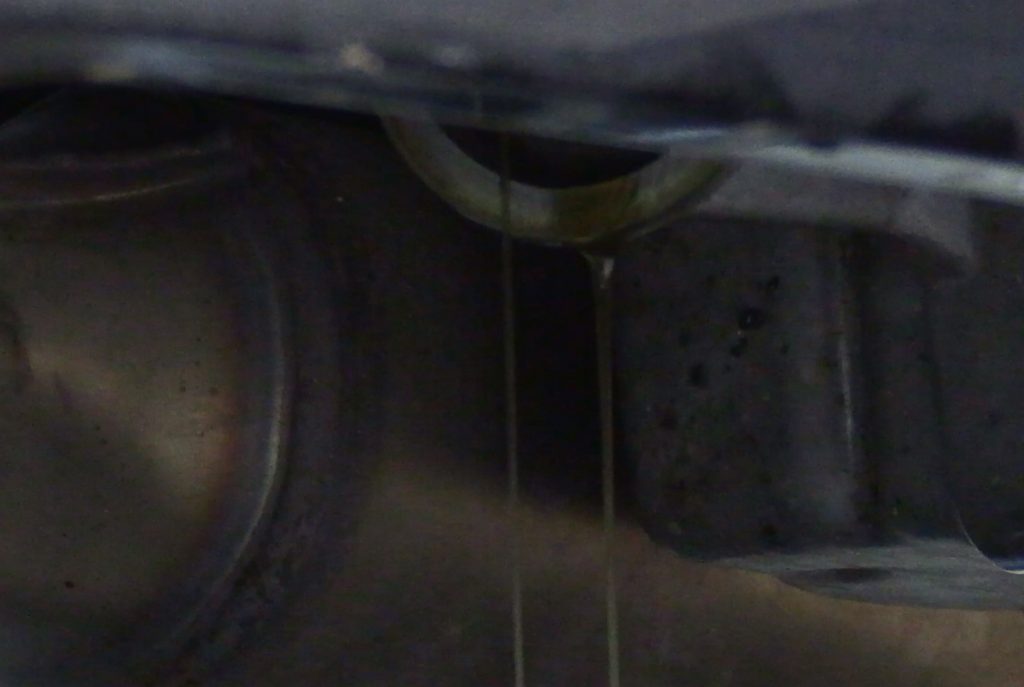
Oil draining from oil pan
Let the oil drain from the bike until it starts coming out as a very slow drip. You will see the crush washer left on the image above – remove this washer if it doesn’t fall on its own. You may choose to warm the bike up before removing the drain plug. This allows the oil to thing down a bit and come out quicker, but you still have to wait for it to drain out of the engine components since it had just run. The choice is yours.
Put a new crush washer on the drain plug and put it it back in the oil pan
You may choose to do this step before or after the oil filter. In either case, place a new crush washer or gasket on the drain bolt (if applicable, some bikes don’t require this). For crush washers, I prefer to use the copper washers that crush down as you seat the bolt. Hand thread the bolt back into the drain pan until finger tight. Then use tighten the bolt down with your socket. Use of a torque wrench is highly recommended and torque to factory specs.
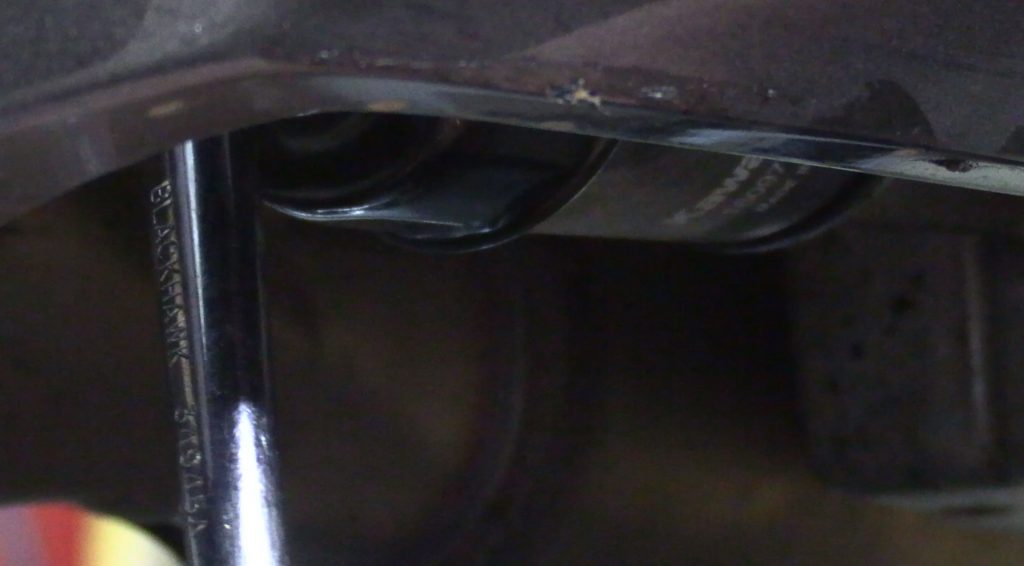
Remove the oil filter with an oil wrench
Remove the oil filter with an oil wrench. You can get adjustable oil wrenches for use with a socket wrench or fixed sized. Don’t use a spanner wrench as these are known to round off and crush the oil filters. There also isn’t much room to work, so the oil wrenches that go on the back of the oil filter are the best in my opinion. Make sure to turn it the right direction (lefty loosey)
Let the oil drain until it comes to a slow drip
Let the oil drain from where the oil filter was. You should let it drain until it is a slow drip. Make sure the oil filter gasket did not remain in place as this will be a guaranteed leak if not removed.
Lube the gasket and threads of the new oil filter
This is very important. Make sure you get some fresh clean oil and lube the gasket and threads of the new oil filter. This prevents leaking but also prevents the gasket from sticking to the motor and allows for easier removal in the future when you go to change the oil again.
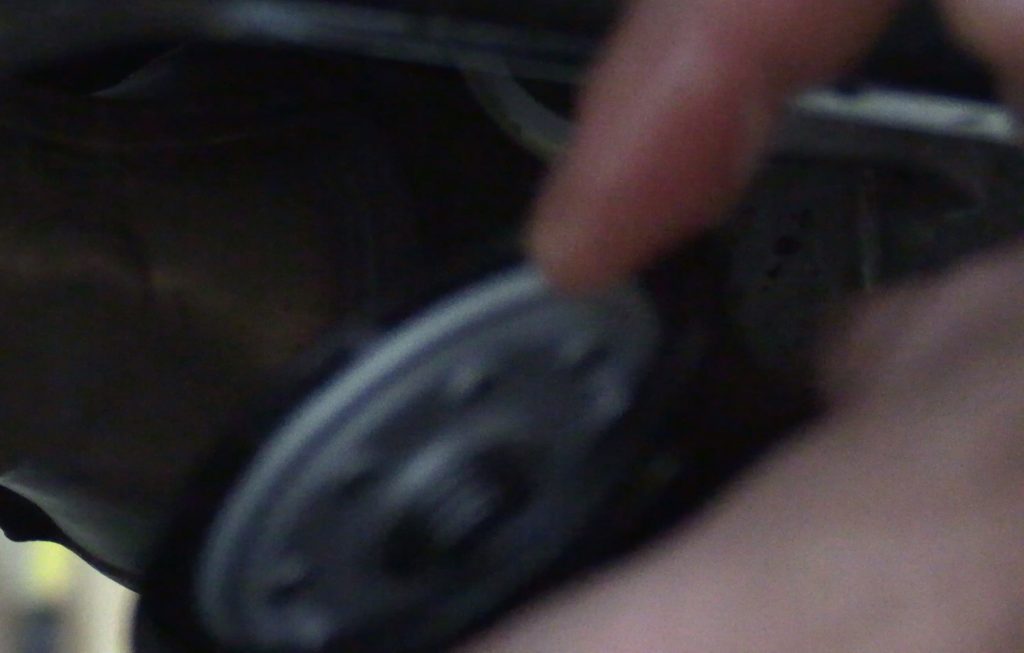
Install the new oil filter
Install the new oil filter. By hand, find the center and align the threads and thread the new filter on. Make sure you do not cross-thread the filter. It should spin on easy. Screw on the filter until it is finger tight. For motorcycles, it is highly recommended to use the oil wrench and your torque wrench and tighten to factory specs. You may choose to hand tighten, but make sure to not over tighten and certainly not have it too loose. You want to spin it on until it is finger tight then give it about a quarter of a turn hand tight. Again – it is preferable to torque this down to factory specs rather than by feel. Once done, wipe everything down.
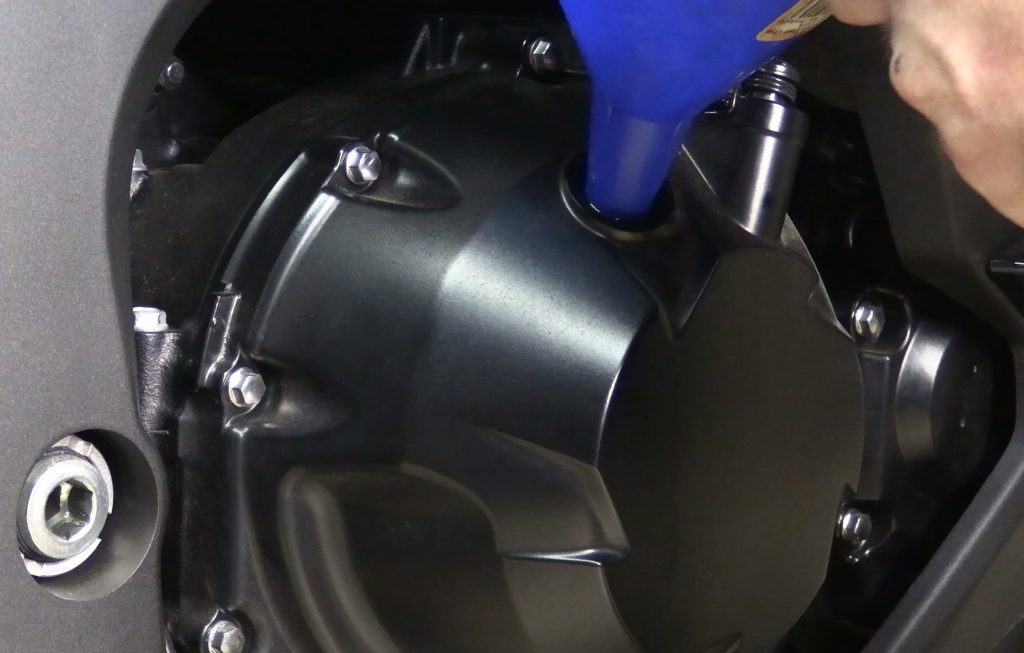
Fill with oil
Now fill the bike with oil. You will want to refer to your owners manual to check what type of oil and how much. Usually there will be quantity with filter change, without and dry. You changed the oil filter, right? If not, go change the oil filter – always change it with an oil change. Then make sure you have the quantity of oil for with a filter change. Your manual may also indicate different grades of oil based on temperatures, so make sure your climate lines up with what you got and also make sure you get motorcycle oil. It is very important that you use motorcycle oil and not regular car/truck oil. Since your clutch is lubricated by the engine oil, there are special additives that are in motorcycle oil that are critical to the proper operation of the clutch. Take a funnel and fill up the engine with the specified quantity.
Check the oil level after filling
You may have to refer to your owners manual, but typically there are two ways of checking the oil level in your motorcycle. You either check a sight class or a dip stick. In either case, you want to check that the oil is full, and in most cases it will read over full as oil has not been primed into the oil filter. As seen in the image above, the oil level is above the two marks meaning it is too full, but that is okay, because we have to run the bike yet. If it is reading low, you need to add more oil as it will be very low after the oil filter gets filled up. When checking oil, make sure your bike is perpendicular to the ground and not sitting on it’s kick stand. This is another reason bike stands or lift are useful. If you have a center stand that would work as well. Once your oil level is full or over full, start the bike and let it warm up.
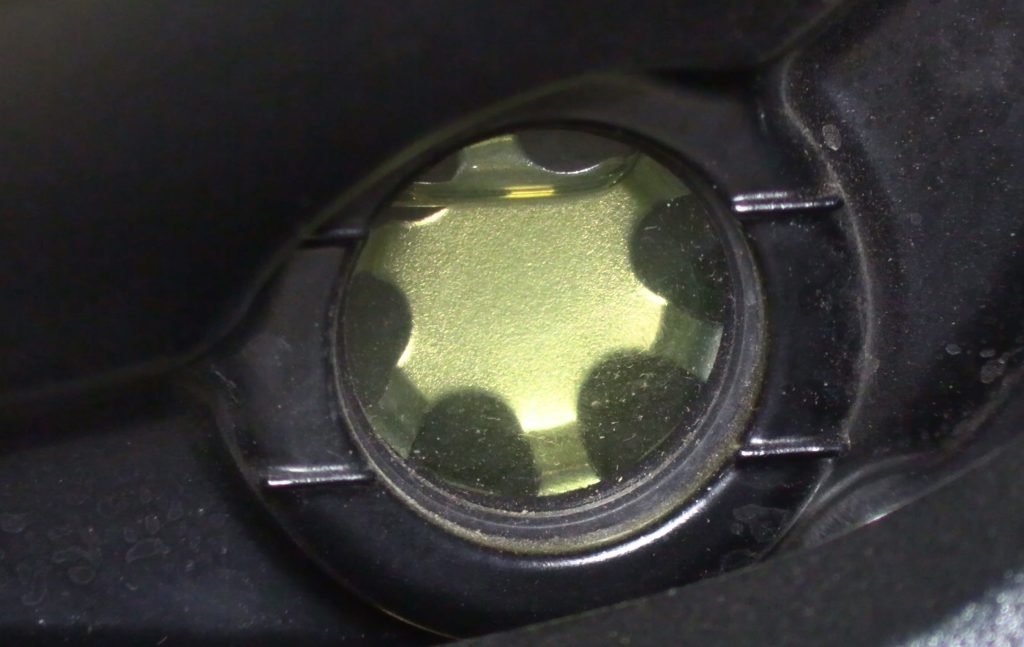
Check the oil level in the sight glass
While running the bike, if you have a sight glass you may notice it drop completely from the sight glass. This is fine while running. Once you turn your bike off, wait five minutes then check the sight glass and the oil level will be at the final level. It should be between the two lines on a sight glass or in the markings on a dip stick. The best place is right in the middle of the markings. If this is the case, you are good to go and your oil change is complete. If it is too low, then add some more oil, start the bike for a bit, let it rest for five minutes and check again. Repeat as necessary. If the oil is too full, as in above the lines, you will need to drain some. This is a bit of a hassle, but the easiest way is to get a pump and pump it out of the fill port. You will loose too much via the drain plug or oil filter, and you will have to replace the crush washer if you had one with the drain plug. Always best to pump it out.
I performed an oil change on my 2021 Kawasaki Ninja 1000SX and placed the tutorial on YouTube which you can watch here.
Hope this helps, and if you have any questions, don’t hesitate to ask.