
One of the most important things you can do for your motorcycle is maintenance. Part of the maintenance cycle is an oil change. In order for internal combustion engines to operation, there must be oil. This allows the friction areas of the engine to run without binding up, overheating and causing catastrophic damage to the motor itself.
Over time, oil breaks down and accumulates moisture. This is why it is imperative to change oil at regular intervals, both mileage and time. Modern synthetic oils can last longer, but motorcycle engines are delicate, especially on sport bikes where they are performance engines, which is why it is still best to change the oil at 3000 miles or annually, even when running premium synthetic motor oils.
Oil changes are one of the easiest maintenance tasks to perform as long as you follow the proper procedure.
- Remove drain bolt and drain oil
- Remove oil filter
- Lube new oil filter (the gasket and threads with clean new oil)
- Install new oil filter
- Replace drain bolt (possibly with new washer)
- Add new oil
- Check level (it should be over full at this point)
- Run bike to warm it up and have oil fill the filter and other parts of the motor
- Turn off bike and wait before checking oil level again – it should be correct now
Any person is capable of an oil change if they have the right tools. The tools are affordable and there is nothing too costly – the oil will cost the most.
- Oil (proper weight and quantity)
- Oil Filter
- Crush washer (if applicable)
- Filter Wrench
- Socket Wrench for drain plug (do NOT use a crescent wrench)
- Drain pan
- Funnel (optional, but highly recommended)
- Torque wrench (optional, but highly recommended)
- Bike stands or lift (optional, but highly recommended)
Performing the Oil Change
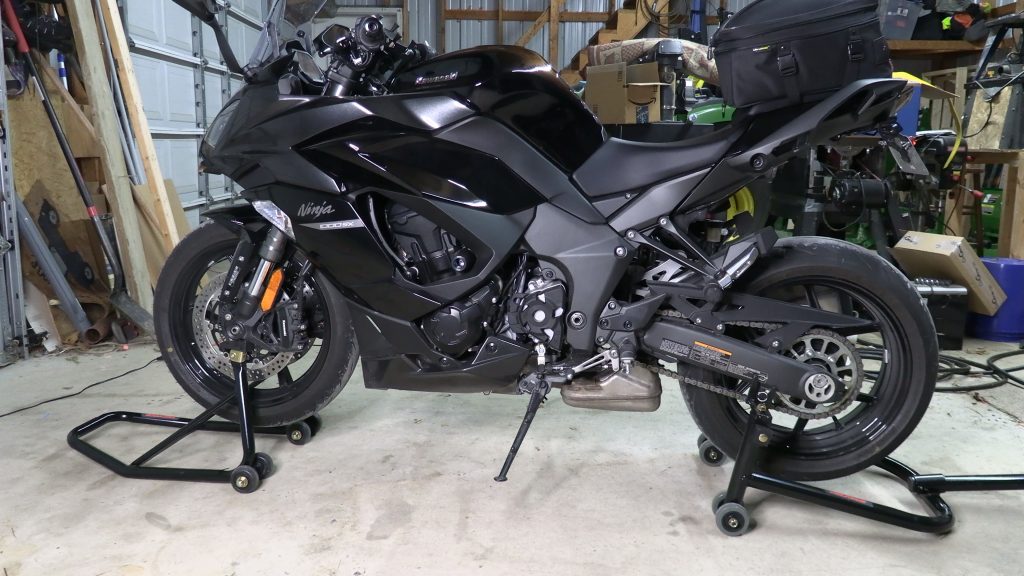
Don’t mind the messy garage :-).
It is preferable to get the bike in the air. Bike stands for sport bikes or a bike lift for cruisers, etc is recommended. This allows you to easily get the bike off the ground and a drain pan under it.
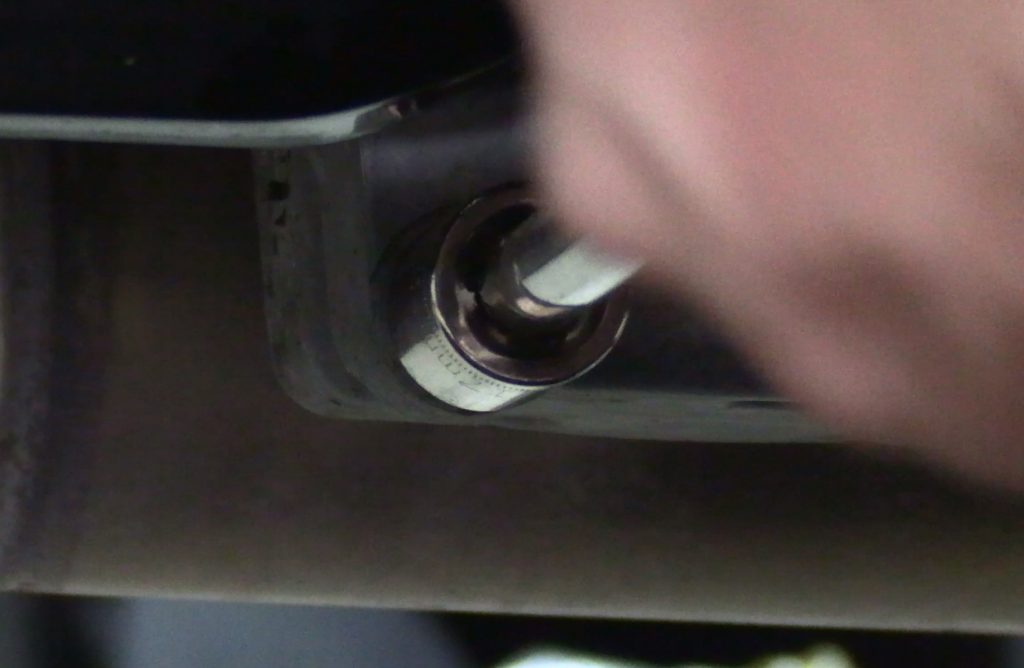
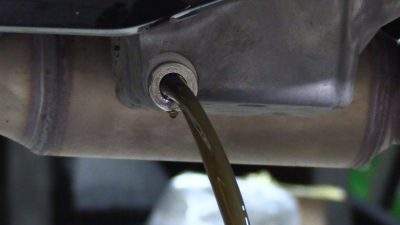
Place the oil pan under the oil pan/drain plug on the bike, find the right size socket and remove the drain plug. Make sure to get the existing crush washer or gasket if there is one.
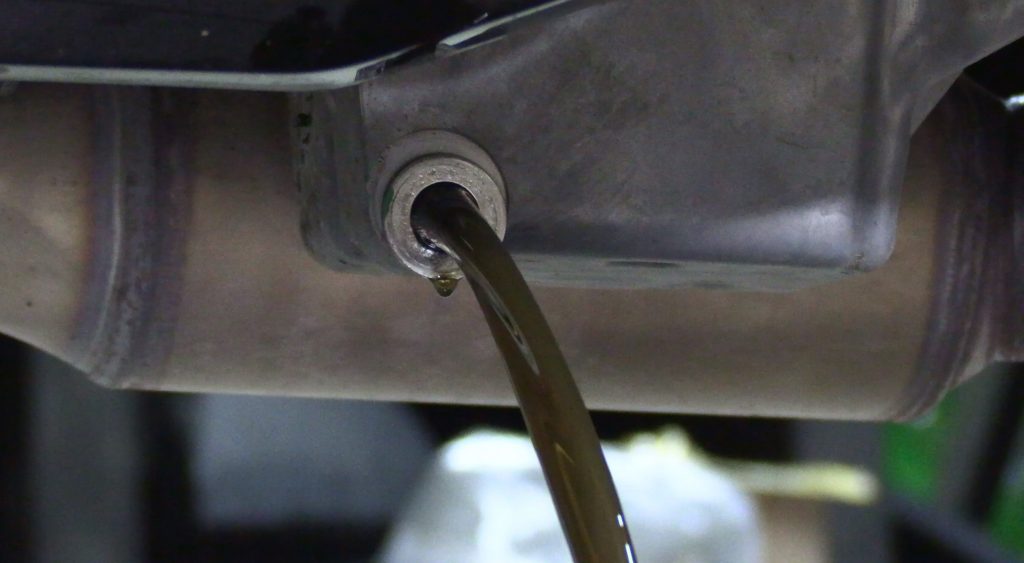
Let the oil drain from the bike until it starts coming out as a very slow drip. You will see the crush washer left on the image above – remove this washer if it doesn’t fall on its own. You may choose to warm the bike up before removing the drain plug. This allows the oil to thing down a bit and come out quicker, but you still have to wait for it to drain out of the engine components since it had just run. The choice is yours.
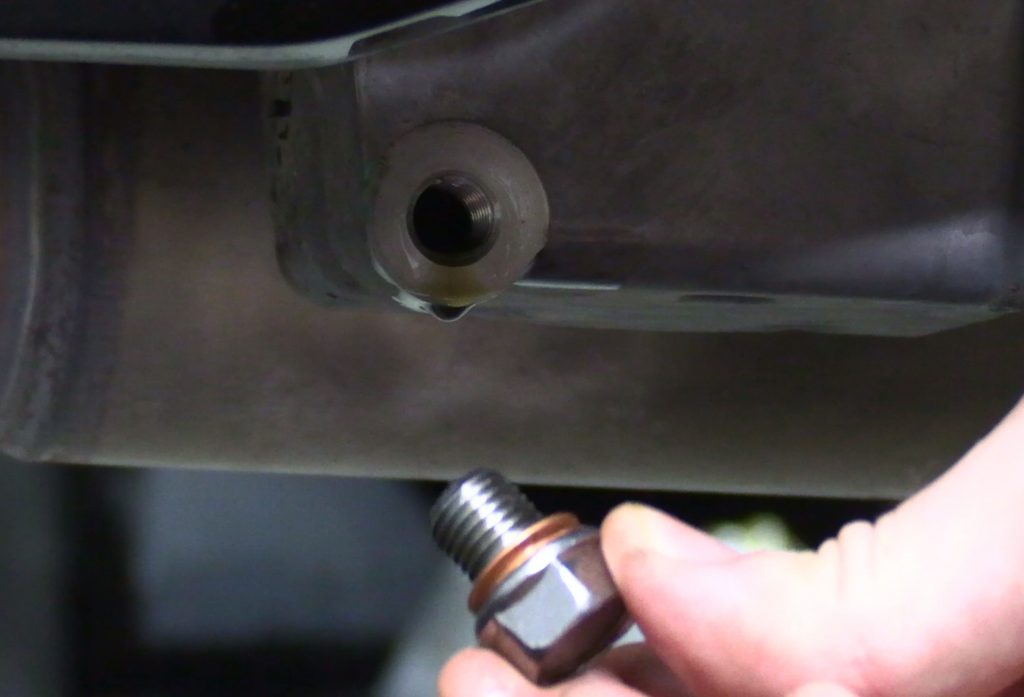
You may choose to do this step before or after the oil filter. In either case, place a new crush washer or gasket on the drain bolt (if applicable, some bikes don’t require this). For crush washers, I prefer to use the copper washers that crush down as you seat the bolt. Hand thread the bolt back into the drain pan until finger tight. Then use tighten the bolt down with your socket. Use of a torque wrench is highly recommended and torque to factory specs.
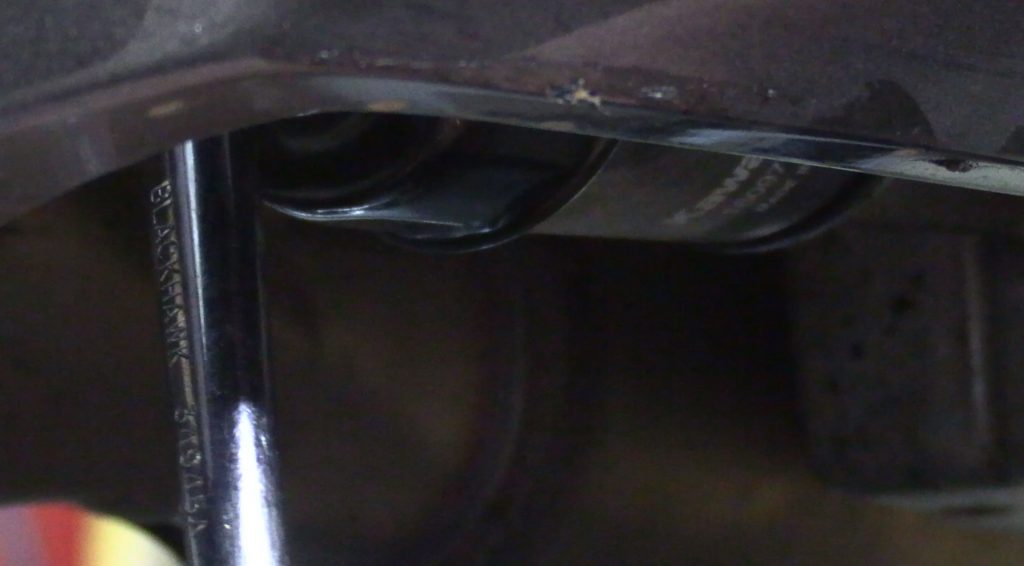
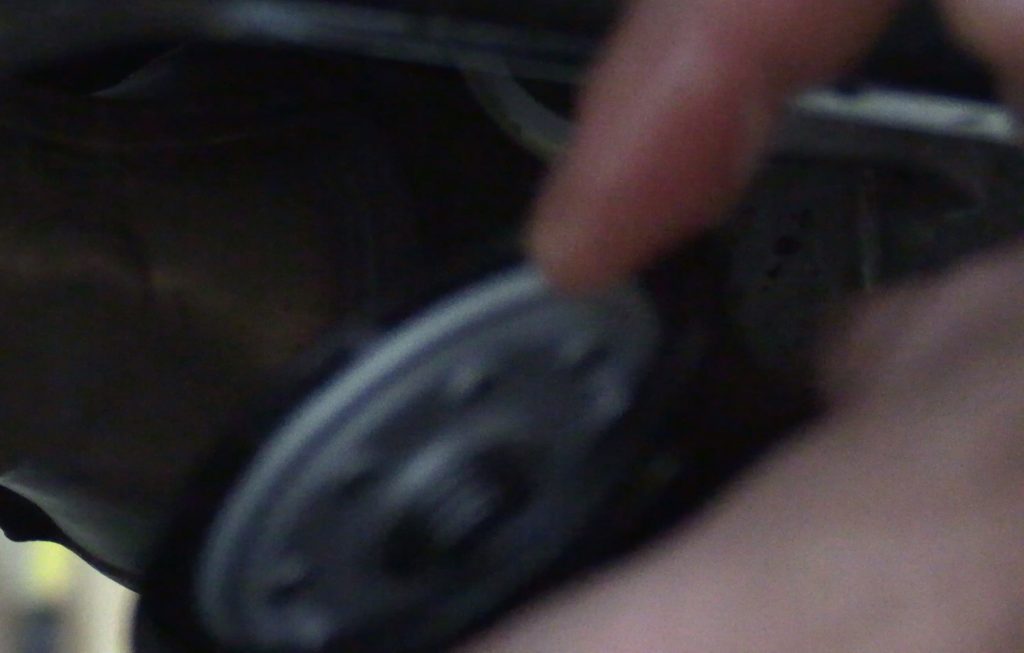
Remove the oil filter with an oil wrench. You can get adjustable oil wrenches for use with a socket wrench or fixed sized. Don’t use a spanner wrench as these are known to round off and crush the oil filters. There also isn’t much room to work, so the oil wrenches that go on the back of the oil filter are the best in my opinion. Make sure to turn it the right direction (lefty loosey)
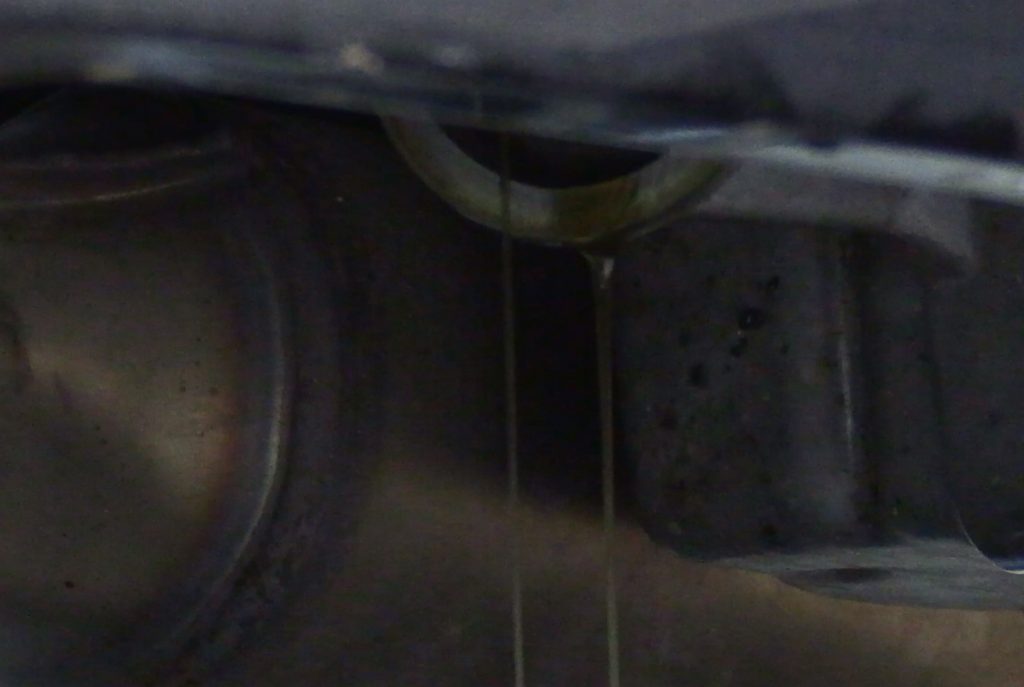
Let the oil drain from where the oil filter was. You should let it drain until it is a slow drip. Make sure the oil filter gasket did not remain in place as this will be a guaranteed leak if not removed.
This is very important. Make sure you get some fresh clean oil and lube the gasket and threads of the new oil filter. This prevents leaking but also prevents the gasket from sticking to the motor and allows for easier removal in the future when you go to change the oil again.
Install the new oil filter. By hand, find the center and align the threads and thread the new filter on. Make sure you do not cross-thread the filter. It should spin on easy. Screw on the filter until it is finger tight. For motorcycles, it is highly recommended to use the oil wrench and your torque wrench and tighten to factory specs. You may choose to hand tighten, but make sure to not over tighten and certainly not have it too loose. You want to spin it on until it is finger tight then give it about a quarter of a turn hand tight. Again – it is preferable to torque this down to factory specs rather than by feel. Once done, wipe everything down.
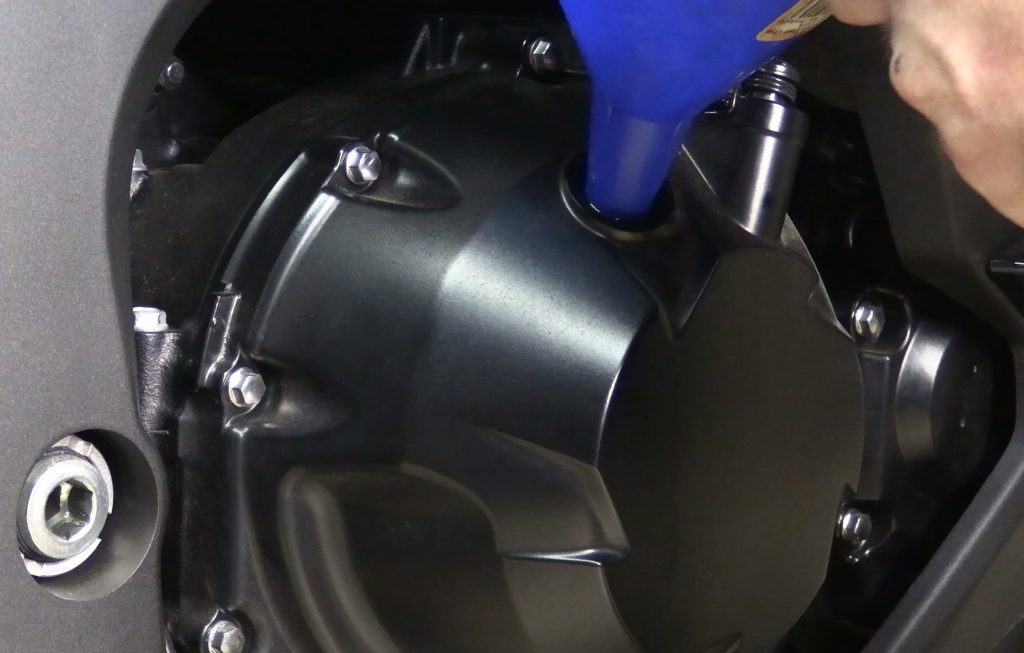
Now fill the bike with oil. You will want to refer to your owners manual to check what type of oil and how much. Usually there will be quantity with filter change, without and dry. You changed the oil filter, right? If not, go change the oil filter – always change it with an oil change. Then make sure you have the quantity of oil for with a filter change. Your manual may also indicate different grades of oil based on temperatures, so make sure your climate lines up with what you got and also make sure you get motorcycle oil. It is very important that you use motorcycle oil and not regular car/truck oil. Since your clutch is lubricated by the engine oil, there are special additives that are in motorcycle oil that are critical to the proper operation of the clutch. Take a funnel and fill up the engine with the specified quantity.
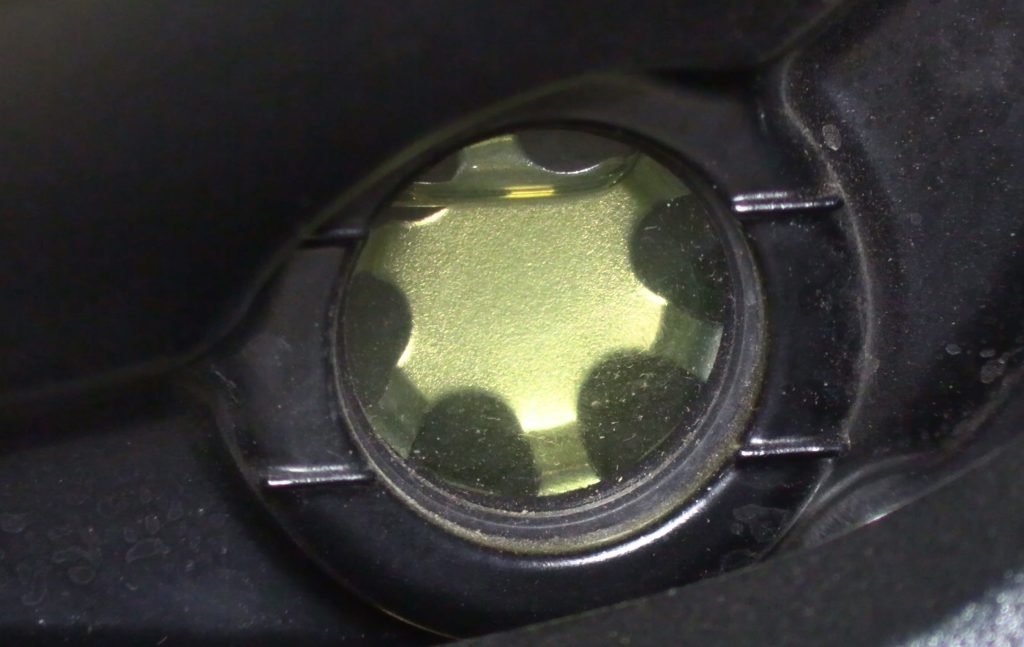
You may have to refer to your owners manual, but typically there are two ways of checking the oil level in your motorcycle. You either check a sight class or a dip stick. In either case, you want to check that the oil is full, and in most cases it will read over full as oil has not been primed into the oil filter. As seen in the image above, the oil level is above the two marks meaning it is too full, but that is okay, because we have to run the bike yet. If it is reading low, you need to add more oil as it will be very low after the oil filter gets filled up. When checking oil, make sure your bike is perpendicular to the ground and not sitting on it’s kick stand. This is another reason bike stands or lift are useful. If you have a center stand that would work as well. Once your oil level is full or over full, start the bike and let it warm up.

While running the bike, if you have a sight glass you may notice it drop completely from the sight glass. This is fine while running. Once you turn your bike off, wait five minutes then check the sight glass and the oil level will be at the final level. It should be between the two lines on a sight glass or in the markings on a dip stick. The best place is right in the middle of the markings. If this is the case, you are good to go and your oil change is complete. If it is too low, then add some more oil, start the bike for a bit, let it rest for five minutes and check again. Repeat as necessary. If the oil is too full, as in above the lines, you will need to drain some. This is a bit of a hassle, but the easiest way is to get a pump and pump it out of the fill port. You will loose too much via the drain plug or oil filter, and you will have to replace the crush washer if you had one with the drain plug. Always best to pump it out.
Hope this helps, and if you have any questions, don’t hesitate to ask.